Water damage can cause serious financial strain and emotional suffering. The sooner you address a water damage incident’s aftermath, the less financial, emotional, and bodily impact it has.
Let’s dive into the steps on what to do after water damage.
Common Signs Of Water Damage

It’s important to recognize the warning signs of water damage on your property before trying to handle the issue.
Large issues with water damage might sometimes begin with small ones. A small leak can destroy a ceiling or flood a basement if it persists long enough. Watch out for these warning signs both inside and outside your property.
- Attic’s moist insulation
- Ceilings with ring-shaped stains
- Clogged gutters
- Cracks and stains on basement walls
- Cracked or wrapped wood flooring
- Musty, lingering scents
- Paint blisters and paper tearing
- Sagging or deformed baseboards
- Soft patches on floors
- Watermarks and mould beneath sinks
Guide: Steps On What To Do After Water Damage
Knowing what to do after water damage makes a great difference if you find yourself suddenly suffering from water damage. If you want to get everything back on your property as soon as possible, adhere to the following steps.
Step 1: Turn Off The Water Source
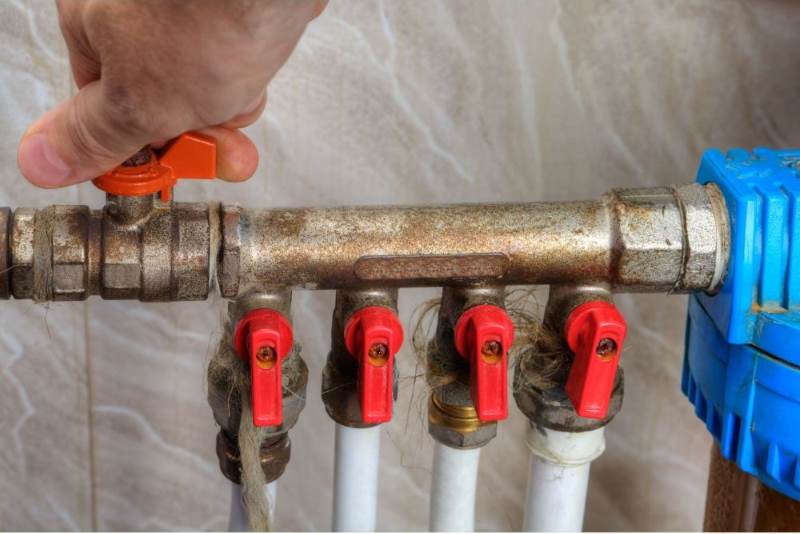
 Turning off the water source is the first step in stopping the leak from getting worse. The stop cock, also known as the stop valve, is typically located in your kitchen or bathroom and instantly turns off the water to the property.
If there’s a lot of water in your property, you should also turn off the gas and electricity sources until the problem is fixed, if it’s safe to do so.
The cause of the leak could be simple to isolate: the hose or plumbing connected to your dishwasher, washing machine, taps, and toilets should all have isolation valves that can be twisted in a clockwise direction to cut off the water flow.
Step 2: Assess The Water Damage
There are three different types of water.
Clean Water – It is from condensation, rain, burst pipes, and other sources is the first kind. Cleaning it up on your own is comparatively safe.
Gray Water – It is which is somewhat dirty water from appliances such as dishwashers, clean toilets, and other sources. It might also have certain contaminants. If you remove it properly and wear the appropriate safety gear to protect yourself, though, you can clean it up yourself.
Black Water – It is which includes sewage and significant floods from neighbouring rivers. This water is contaminated with bacteria, rubbish, and other hazardous substances. Black water shouldn’t be cleaned up by you since it might lead to extremely dangerous health issues. It’s time to hire professionals to fix the water damage in your property.
Step 3: Contact Your Insurance Provider

Homeowners insurance usually covers water damage to residential properties. To determine losses, schedule an assessment and speak with your provider.
Step 4: Document The Water Damage
Take photos of every item that is damaged, such as clothing, appliances, furniture, and electronics. Record any ceilings, walls, or floors that have water damage. Save all of them in a single digital file folder that you can share with your insurance provider.
Step 5: Assess Your Things
Assess your things closely for damage. Certain things with minor damage might be cleanable. Seek advice from Major Restoration Services if you’re uncertain.
Porous materials, such as carpet, cloth, insulation, and the like, should be removed and thrown away. It could be necessary to remove and discard them if they have been submerged in water. Most porous materials will be permanently damaged by water because it will shrink or deform them; mould will worsen the damage.
Keep in mind that materials like wood, drywall, and untreated cement are also porous.
Step 6: Remove All Standing Water
While standing water can be mopped up, a high-quality wet vacuum finishes the job fast. As water damage increases with time, you must remove any standing water.
Put on protective gear, such as gloves and rubber boots, to help prevent cuts and injuries that could absorb water contaminated with bacteria.
Lift wood furniture off wet carpeted areas to protect the things you own, and place aluminium foil under its feet to stop stains. If the flooring is moist or wet, remove all of the rugs. Furthermore, keep in mind that disturbing visible mould will simply encourage more mould development by releasing mould spores into the air.
Step 7: Clean The Area Then Repair Or Restore

Prepare a selection of disinfecting products for your use. You can determine which products are safe to use on porous surfaces by reading the packaging and labels. Go over the walls, ceilings, floors, and other surfaces. If walls, ceilings, or floors are affected by water damage, proceed with restoration and repairs as necessary.
Before you start working, disinfect the entire area after removing any damaged components. Although bleach solutions are the most popular alternative, you can also use a variety of DIY solutions.
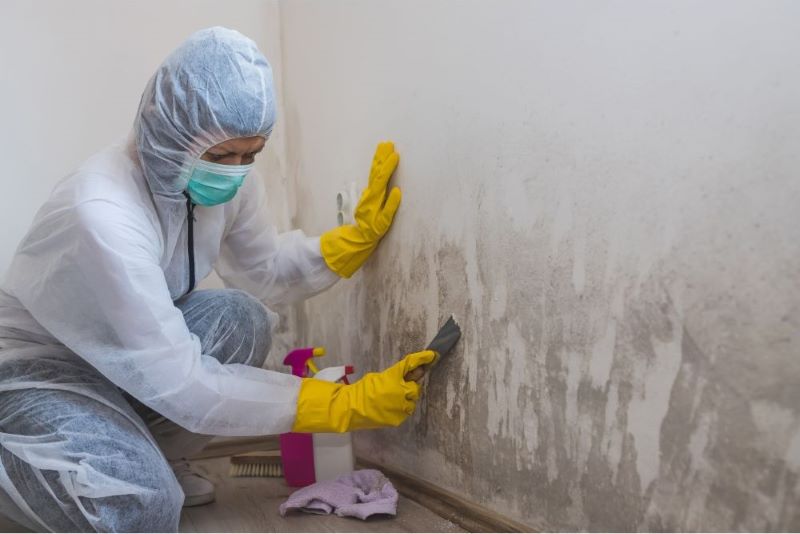
To help ensure that no mold spores remain after water damage repair, lightly spray and wipe down the area.
Step 8: Dry The Area
Let the humidity out by opening the windows. Hiring a dehumidifier is the last resort in dealing with major flooding; however, before using it, make sure to shut all of your windows.
At least for three or four days, let everything run nonstop.
Know When To Call Professionals
After water damage, repairs can get quite involved. There are threats to one’s safety as well. Changing the wet ceiling requires labour-intensive ladder work. Cleaning up after a sewage spill exposes you to potentially harmful bacteria. Give Major Restoration Services a call if you are uncertain about completing the task yourself.
Our highly skilled team knows what to do after water damage – has the tools and resources necessary to complete large tasks swiftly and effectively.


